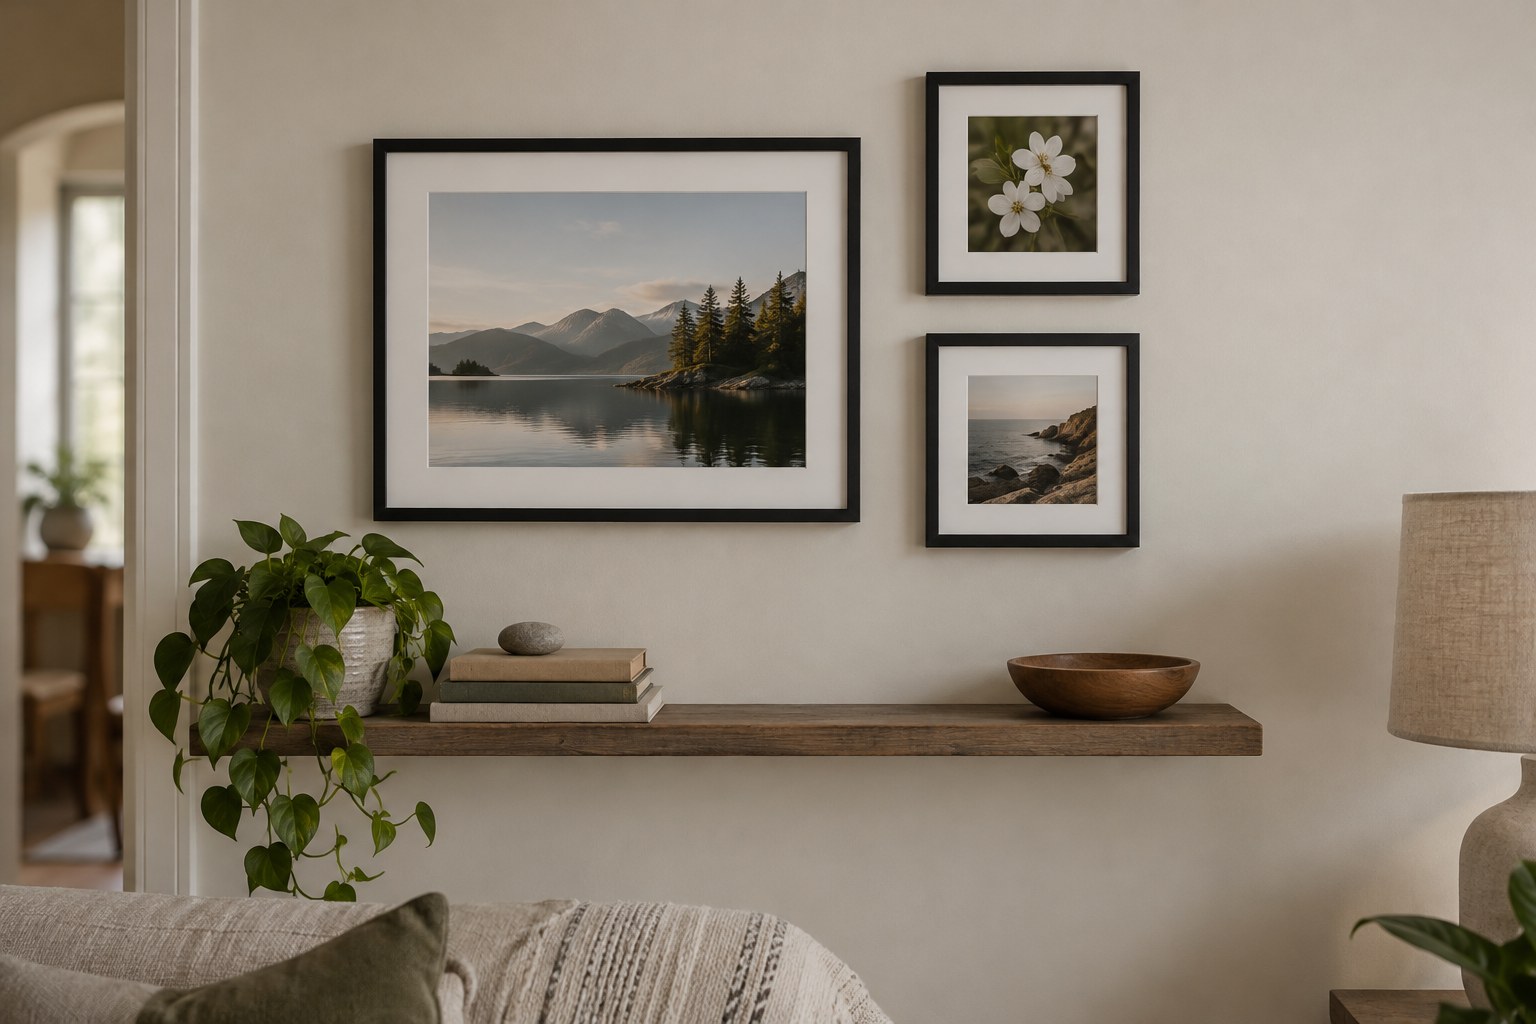
A wall arrangement is seen before any individual photograph is examined. Its outside shape, spacing and relationship to furniture determine whether the group feels deliberate. Start with the wall itself: the area available, the normal approach to it and the height from which the pictures will be viewed. Avoid choosing frame positions solely from a close-up photograph of an empty wall.
Select a small group of images with a visible connection. They might share a place, a colour, a subject or a contrast between near and distant views. They do not need identical dimensions. However, a group assembled only because every image is a favourite can be difficult to organise. Give the arrangement one reason to exist beyond filling a blank space.
Work with paper shapes first
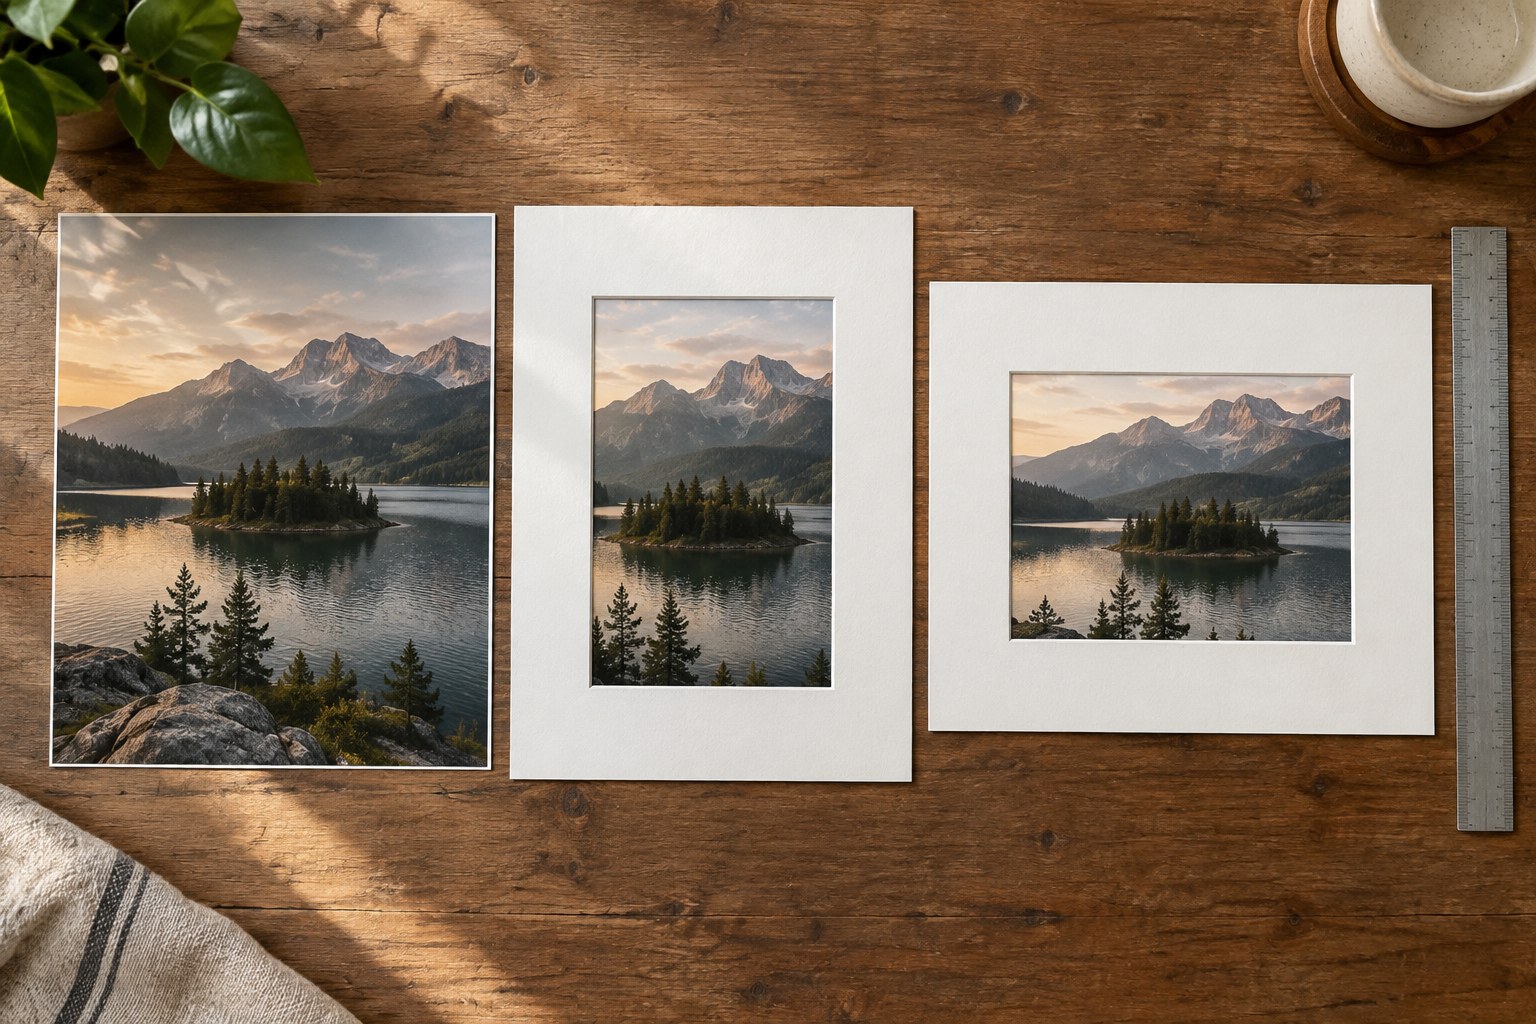
Measure the outer frames, not only the photographs. Cut paper rectangles to those dimensions and label them with the corresponding image names. Arrange them on the floor, then use a wall-safe temporary method appropriate to the surface to try the layout. Check the wall finish before applying any adhesive; a paper mock-up is not worth damaging it.
Choose one organising relationship. Align a top edge, a centre line or the outside boundary of the group. This gives varied frames something in common. A regular grid is another option, but it requires spacing to be particularly consistent. Do not mix several nearly aligned edges accidentally; they tend to look less intentional than clearly different ones.
Judge the gaps from across the room. Very small gaps can make the frames read as a single object, while wide gaps separate the images. Neither is always correct. Keep enough space that the individual pictures remain readable without making the group fall apart. Measure an accepted gap and use a simple spacer while marking positions.
Let the photographs influence placement
A dark, visually dense image can carry more weight than a pale one of the same size. Place the paper layouts with small reference prints attached so you can see that difference. A portrait looking outwards may pull attention away from the group; it can also create a deliberate opening. Test the effect instead of automatically turning every face towards the centre.
Consider reflections and daylight at different times. A position that looks clear in the evening may reflect a window during the day. Avoid deciding only under the temporary work light used for hanging. If strong light falls directly on photographs, consult the print and framing materials' care guidance rather than assuming the glazing makes the location harmless.
Before drilling or fixing, confirm the wall construction, frame weight and appropriate hanging method. Follow the hardware instructions and keep away from concealed services. The layout plan establishes where the pictures belong; it does not determine which fixing is suitable for the building.
Photograph the final paper arrangement and record the outer dimensions and gaps. Then hang from a measured reference rather than adjusting each frame by eye. Step back after the group is complete. A small correction to the whole arrangement may matter more than repeatedly moving a single picture by a few millimetres.