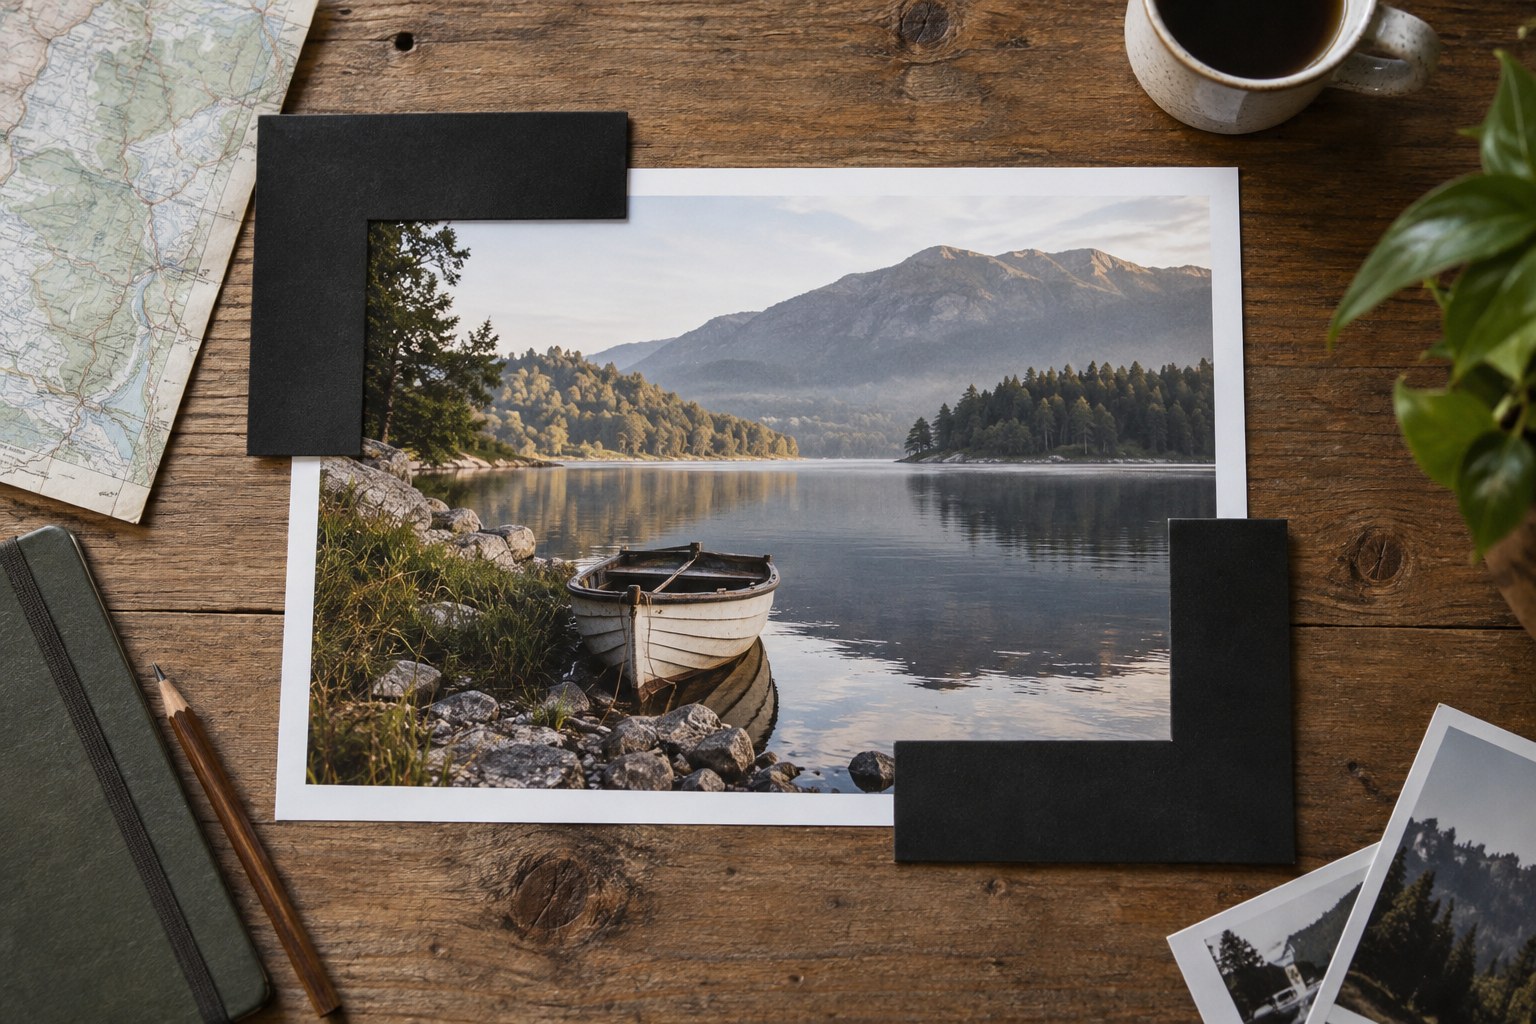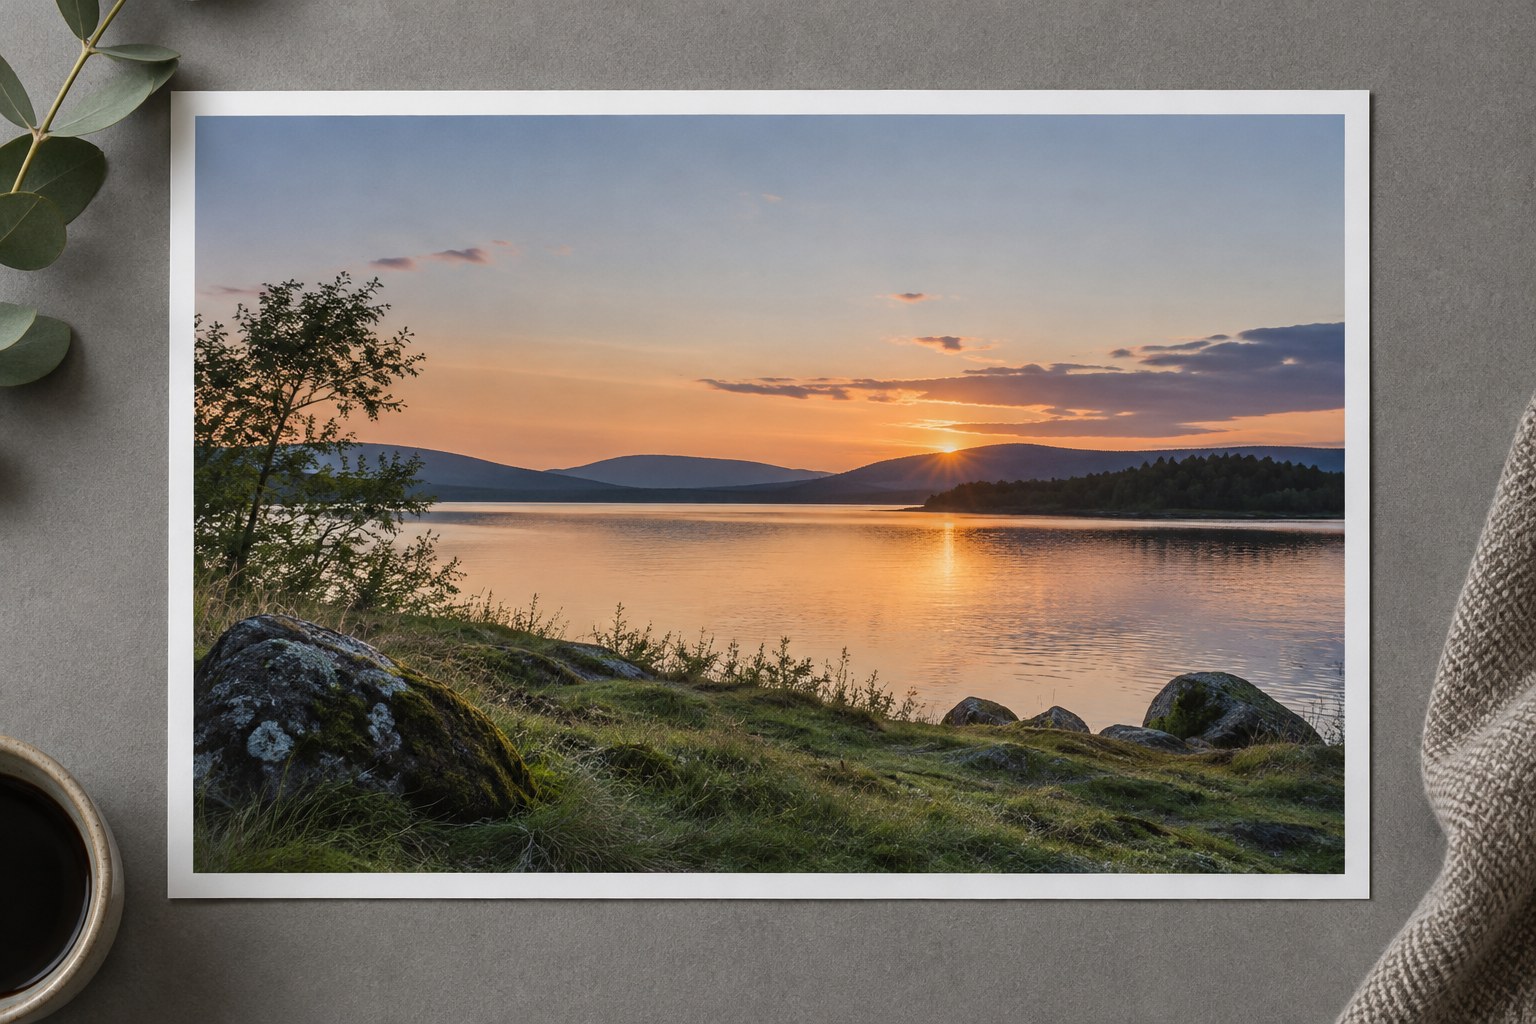
Begin with a neutral or restrained starting profile and compare the unedited file with the camera preview. The preview may already include a strong picture style, so it is not a requirement that the RAW conversion match its saturation. Identify the actual colour relationships you want to preserve: warm cloud edges, cooler upper sky and a darker foreground may each have a different role.
Set white balance with the atmosphere in mind. Neutralising every warm area can remove the sunset, while pushing temperature far toward warmth can eliminate useful blue and violet separation. Move the control gradually and watch more than the horizon. A distant mountain or pale cloud can reveal when the entire image has acquired an artificial orange cast.
Recover transitions before increasing colour
Check the bright area near the sun for clipping and abrupt colour changes. Lower highlights cautiously if recoverable detail exists, but do not darken a featureless region until it becomes a grey stain. Some direct light may remain bright. The important question is whether the surrounding gradation remains smooth and plausible.
Adjust global saturation only after the tonal structure works. If one orange band is already intense, increasing all colours can make it overpower the scene. A selective adjustment may be more appropriate, but inspect boundaries between hues. Strong changes can produce bands or patches, particularly in smooth sky or a heavily compressed source file.
The foreground does not need to share the sky's brightness or warmth. A silhouette may give the sunset a clear structure. If detail is needed, lift it only enough to explain the shape, watching noise and colour in the shadows. Applying a warm overlay to the entire foreground can make surfaces appear illuminated by light that was not present.
Warm clouds above cool water
A lake beneath warm clouds may retain a cooler tone outside the reflected light. If a global warming adjustment makes the whole lake orange, compare it with the source. A local treatment of the clouds can preserve the more complex relationship without requiring exaggerated saturation anywhere.
Check the reflection's position as well as its colour. Editing should not imply that a bright cloud illuminates an unrelated patch of water simply because that patch was easy to select. Use the recorded pattern as the guide. A subtle distinction between reflected warmth and cool surrounding water often contributes more depth than a stronger overall sunset effect.
Retain the cooler counterweight
Look for the part of the image that balances the warm light: blue sky, neutral water or a subdued landform. Protect that difference during editing. Warmth often appears more convincing beside a cooler area than when every pixel is warm. The aim is not to manufacture a complementary-colour formula, but to avoid erasing relationships already recorded.
Compare the edit after a short break and at a modest display size. An image that seemed restrained after several minutes of adjustment may suddenly look excessive. Keep an alternative with lower saturation and compare both without looking at the slider values. Choose according to the photograph's atmosphere and subject, not the strength of the effect.
Export with the intended colour profile and inspect smooth gradients for banding. If necessary, reduce extreme colour or contrast changes rather than adding more processing to hide them. Preserve the source and editable settings. A convincing sunset can be vivid, quiet or nearly monochrome, but its colour should describe the light rather than cover the scene with one uniform tint.