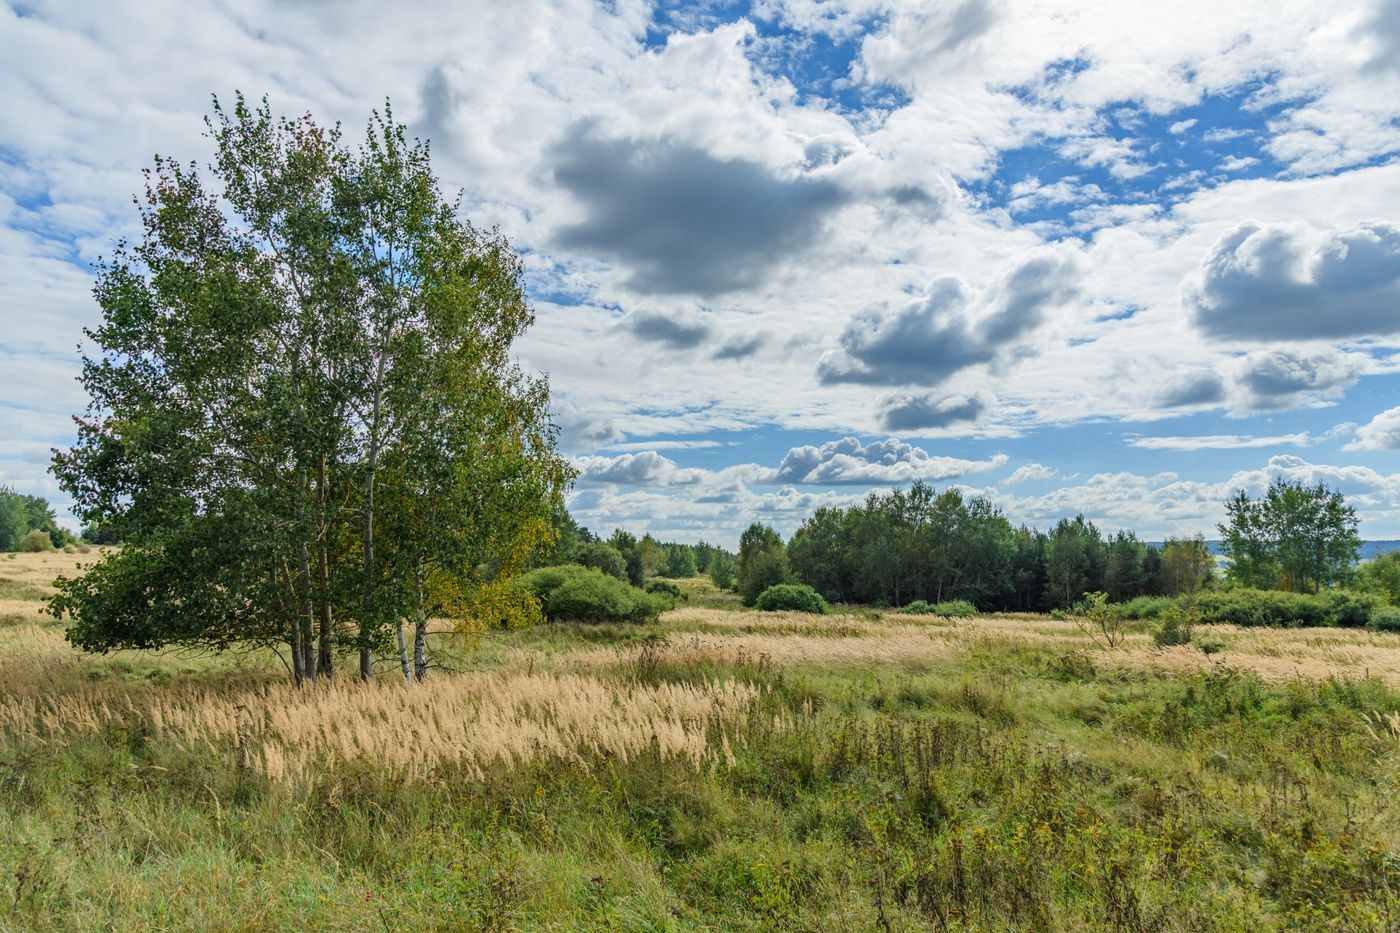
A bright sky above shaded ground can exceed the range your camera records in one exposure. Darkening the photograph may restore the clouds but make the foreground difficult to use. Raising the shadows later may reveal noise rather than clean detail. The first decision is therefore visual: does the sky carry the picture, or is it only a narrow strip above the subject?
If cloud shape is important, inspect a test frame with a histogram and highlight warning. Look for lost texture in the clouds you want to retain, rather than worrying about every tiny bright point. Reduce exposure in small steps until those areas have useful detail. With raw capture you may have more adjustment room than with a finished JPEG, but you cannot assume that fully clipped information will return.
Change the contrast before forcing the file
Waiting can be more effective than a large correction. A cloud passing over the foreground or lower sunlight reaching the land can bring the two parts closer in brightness. You can also move so that a brighter foreground occupies the frame, or use a building, branch or hillside to reduce the amount of sky. A composition with less sky is not a failure if the ground contains the real subject.
When the scene is stationary and the contrast remains too high, make a bracketed sequence with the same framing and aperture. Change shutter speed to cover brighter and darker exposures. Keep the camera steady and check that the darkest frame contains the important highlights while a brighter frame records the necessary ground detail. Combining the files later requires care with moving leaves, people and water, which may create mismatched edges.
A graduated neutral-density filter is another option when the bright region has a suitable shape. Its transition may work well with an open horizon but darken a mountain or building that extends into the sky. Examine the whole frame after positioning it. The filter cannot distinguish a bright cloud from a dark roof simply because they share the upper half of the image.
Consider a scene with a shaded stone wall beneath bright textured clouds. First expose for the clouds and inspect the wall at the intended viewing size. If its stones remain identifiable, the darker rendering may already express the weather well. If the wall is the subject and has become an unreadable strip, the same exposure is not sufficient merely because the sky is technically preserved. This comparison gives the decision a concrete reference rather than an abstract goal of maximum dynamic range.
When making a bracket, check the gaps between exposures as well as the endpoints. You need usable overlap in tones so that transitions can be blended naturally. A very dark sky frame and a much brighter ground frame may leave difficult edges around branches. Make an intermediate exposure when needed, then choose only the files that contribute. More frames do not automatically produce a better merge.
Keep an unmerged original in the final selection process. It can remind you how the light actually felt before local adjustments made every surface equally visible. If the combined image has lost the direction and contrast that attracted you, reduce the correction or return to the simpler frame.
For a single-frame result, accept a clear priority. You might preserve dramatic clouds and let a tree become a silhouette, or keep a face readable and allow an unimportant strip of sky to go pale. What tends to look awkward is an accidental compromise with a dull sky and a muddy subject. Make the choice at capture, then adjust the file in a way that preserves that intention.