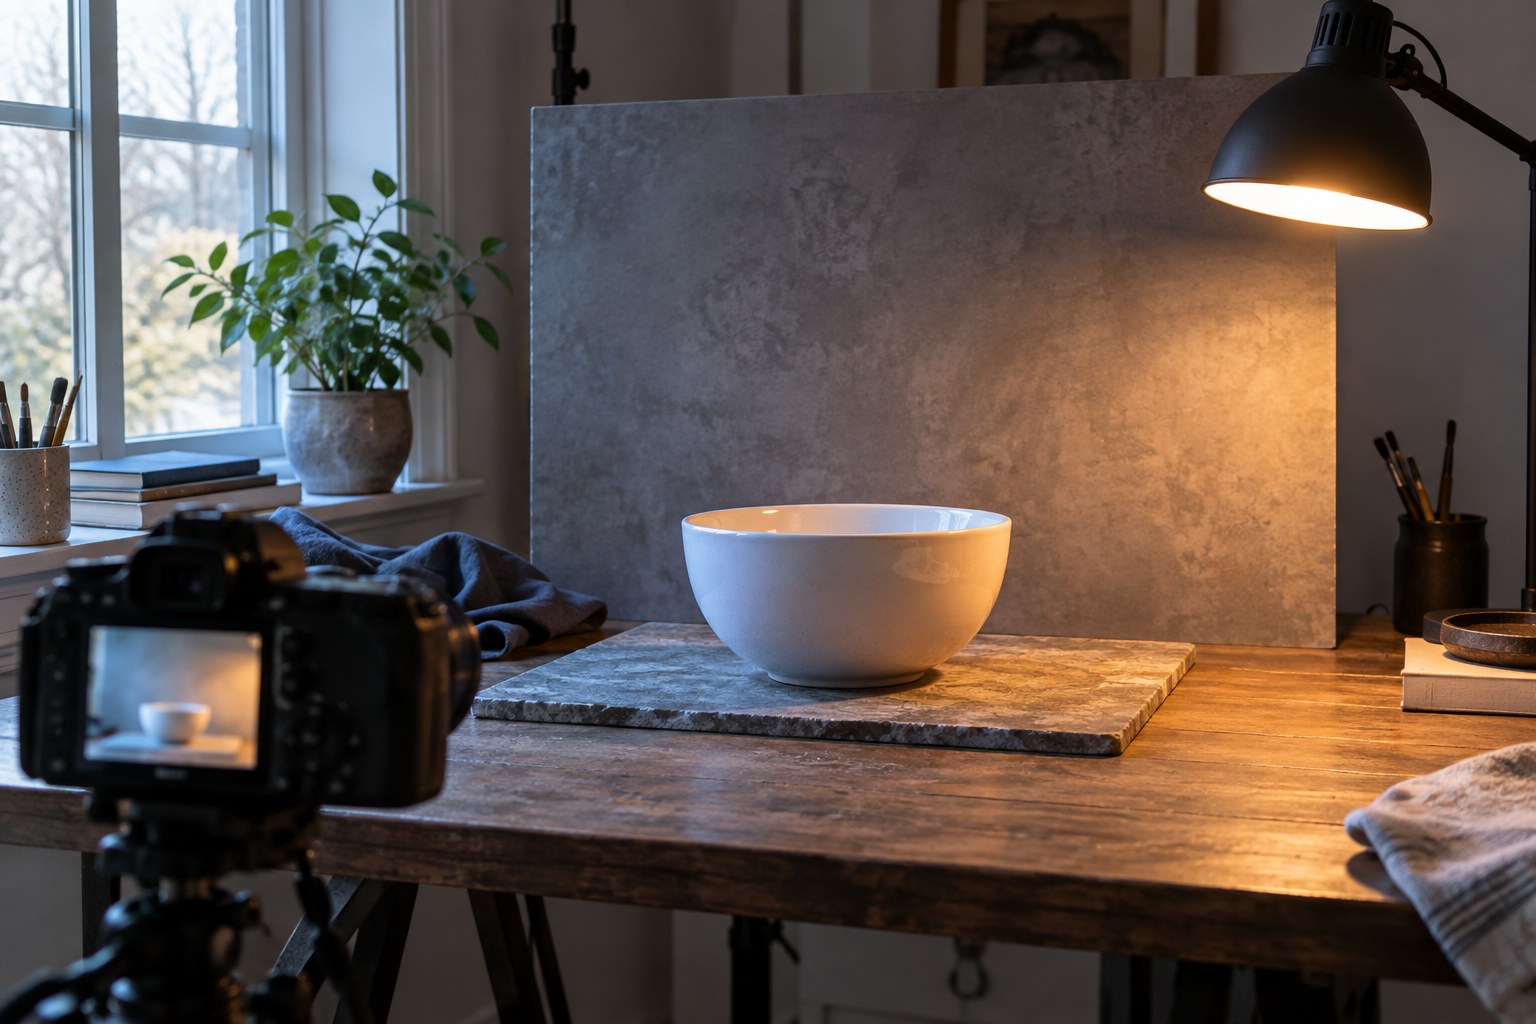
A room lit by a window and a warm lamp can contain two different colour casts at once. Setting white balance for the window may leave the lamp-lit area orange; setting it for the lamp may turn the daylight blue. A single global adjustment cannot always make both neutral because they are genuinely different sources illuminating different parts of the scene.
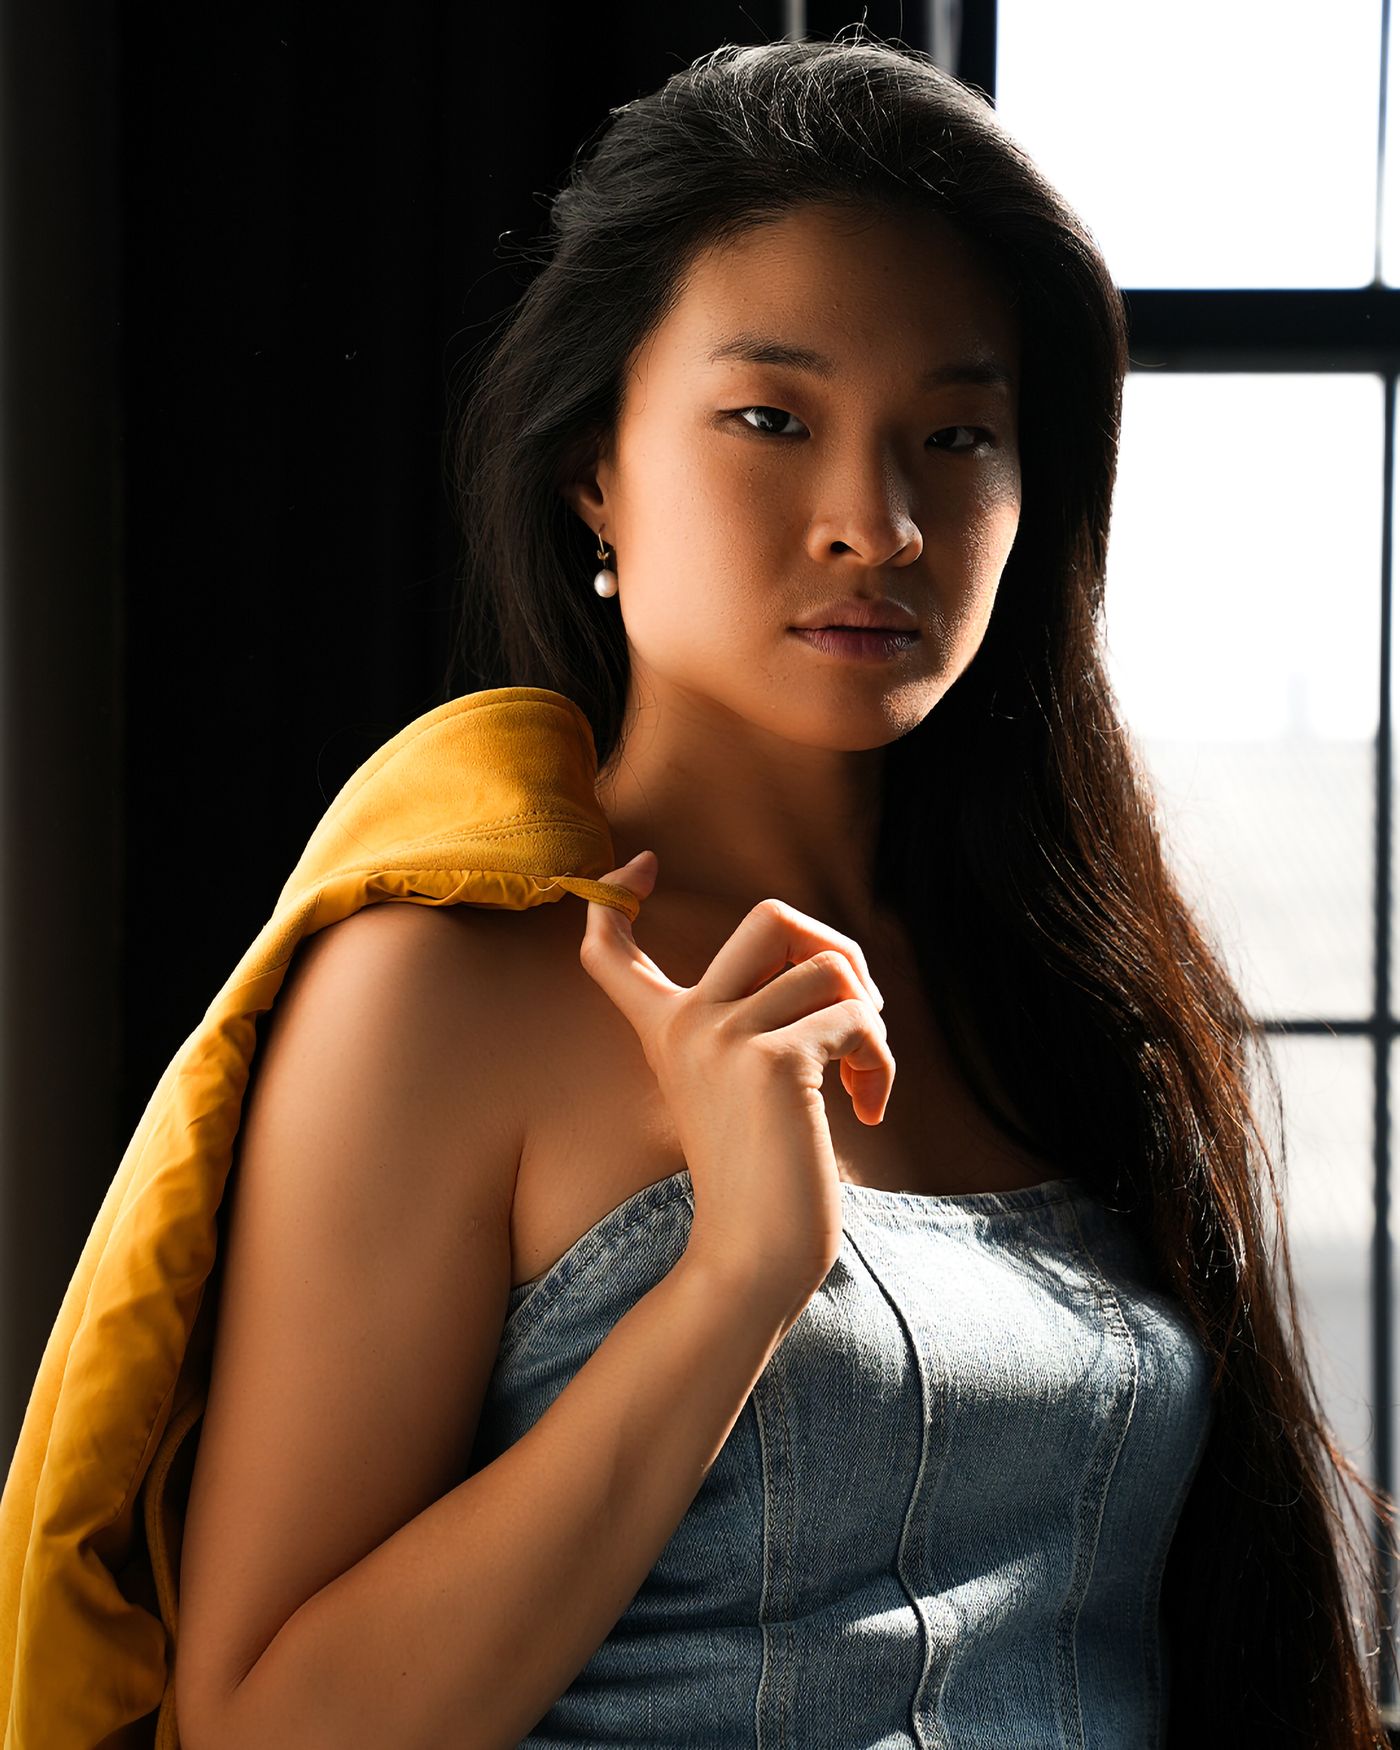
Decide which light should define the photograph. For a portrait near a window, switch off nearby room lamps if they add an unwanted colour to the face. For a room photograph where lamps are part of the atmosphere, you may want to retain their warmth and accept cooler window light. Consistency does not require every surface to become neutral.
Make a reference under the actual light
Place a neutral grey reference where the important subject receives light, not beside the camera in a different part of the room. Photograph it without clipping and use it as a starting point for white balance. If one half of the card receives daylight and the other a lamp, the reference also reveals the mixed condition. It cannot turn that condition into one uniform light source.
For a sequence made from the same position, use a fixed white balance once you have chosen a look. Automatic white balance may change between frames as a coloured wall, garment or lamp occupies more of the image. Raw capture allows later adjustments with more flexibility, but recording a consistent starting point still makes comparison and selection easier.
Look for unexpected sources: a television, coloured decorative light or reflection from a painted wall. These may affect only a cheek or a corner of a white object. Remove or block the source when possible, or move the subject. A local colour correction is easier when it refines a small remaining difference than when it must rebuild half a face.
For a person seated between a window and a lamp, make three diagnostic frames: both sources active, the lamp off, and the person moved farther from the window. Keep the pose similar and adjust exposure only enough for a fair brightness comparison. The frames show which source affects which side of the face. You may discover that a small move solves the colour division more naturally than a complicated correction.
If you must keep both sources, use the neutral reference as a guide rather than an automatic command. Choose the face as the colour priority and let a background lamp retain some warmth. Local adjustments should have soft, believable transitions that follow where the light actually falls. A perfectly neutral patch beside an orange patch can look more artificial than the original mixed light.
For photographs intended to describe an object's colour, move the object into a more uniform lighting area instead of accepting the room's mixture. A reference photographed elsewhere in the room is not enough. Record it beside the object, then remove it for the final frame without changing the lighting arrangement.
Recheck after moving to another part of the room. The ratio of window light to lamp light changes with position, even when neither source has been adjusted. Evening daylight also changes while the lamps remain comparatively stable. Take another reference when that balance changes significantly rather than assuming one measurement covers the entire session.
When editing, compare related pictures side by side at the same display brightness. Skin, neutral furniture and white paper can provide continuity cues, but keep the intended warmth of the location. A technically neutral frame that loses the room's evening atmosphere may be less useful than a consistent, gently warm interpretation.