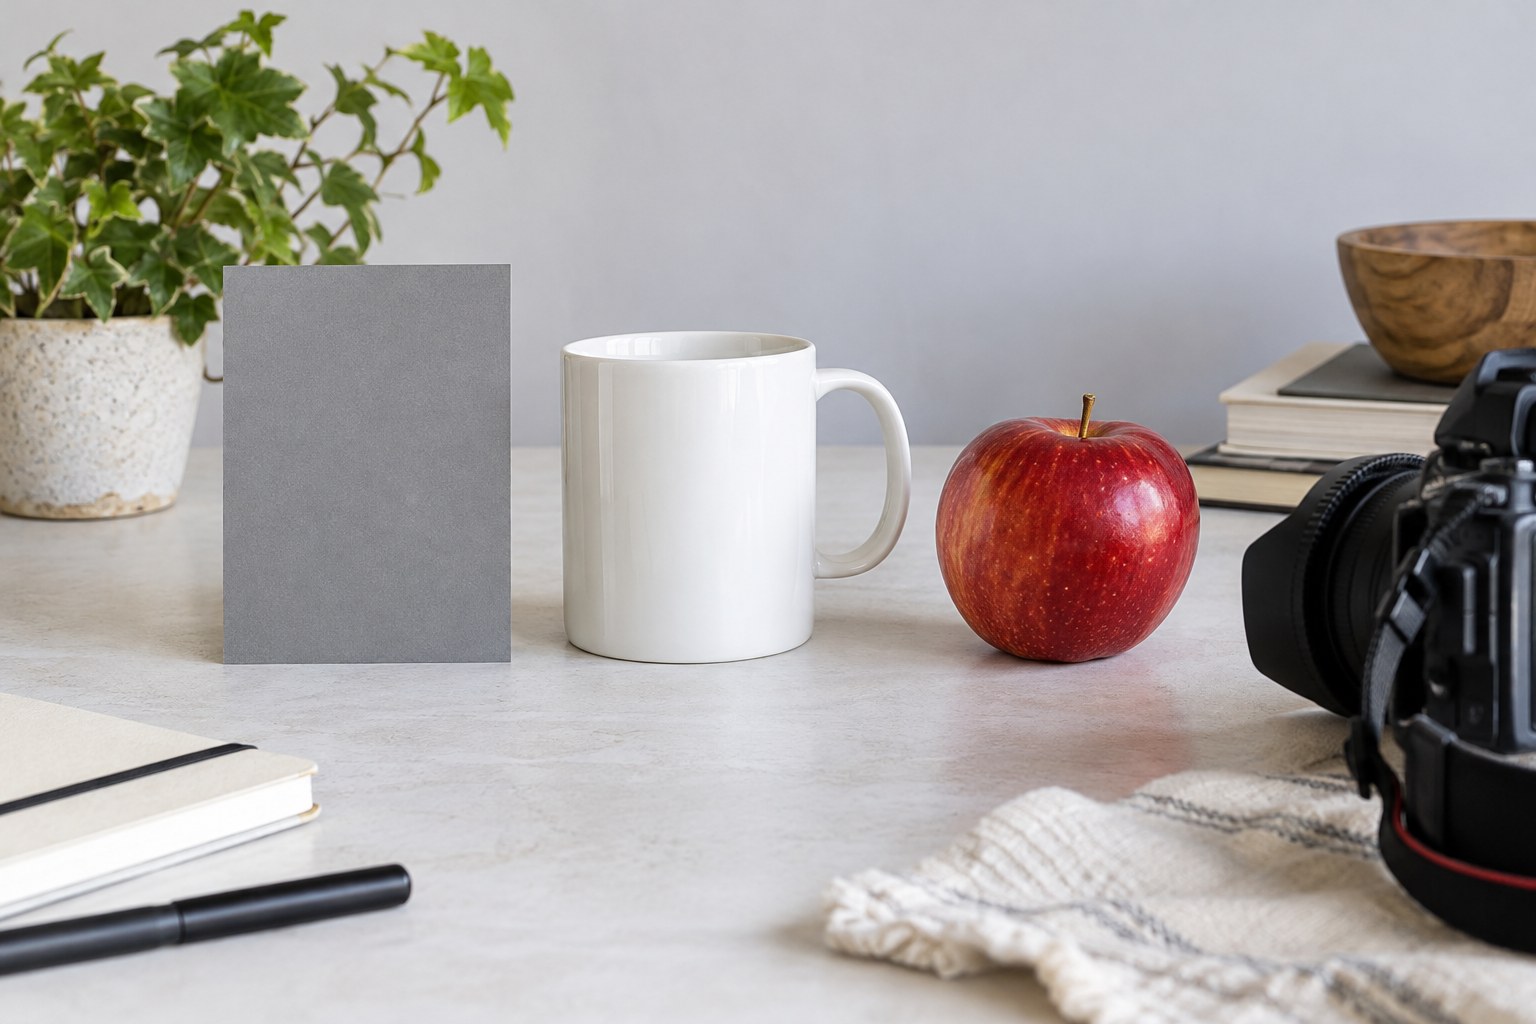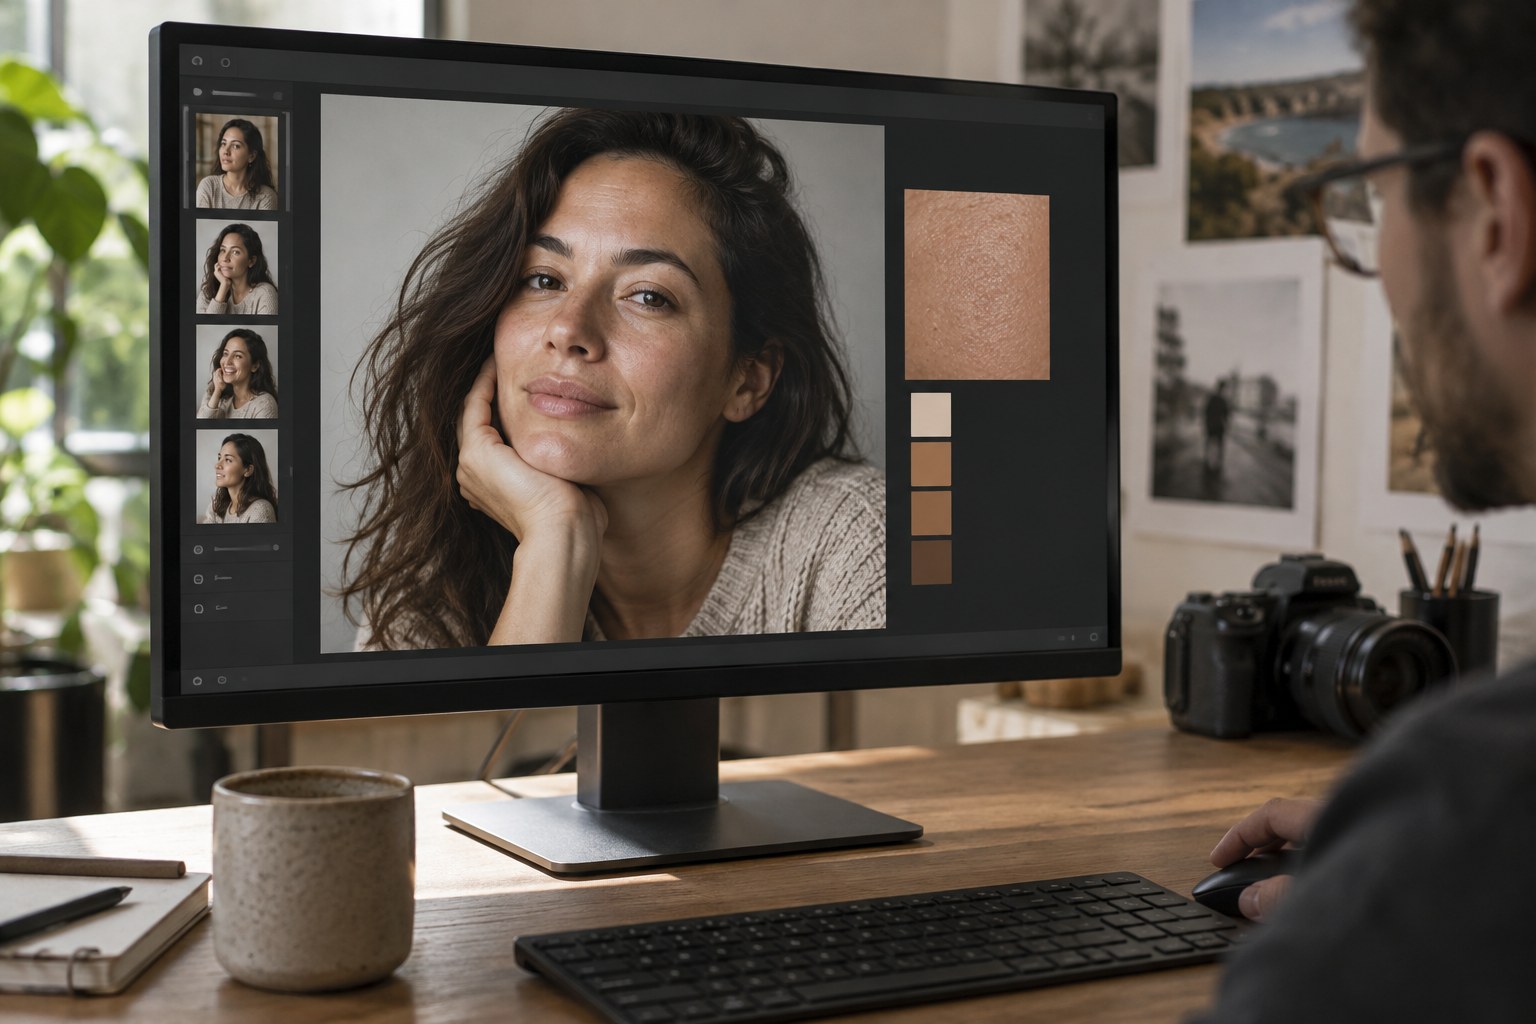
Begin with the image's overall white balance and a suitable starting profile. If a neutral reference was photographed under the same light, use it as a starting point rather than an absolute command. A reference in different illumination cannot reliably describe the face. Warm evening light or coloured reflections may legitimately affect skin, and removing them completely can detach the person from the scene.
Compare several areas of the face and neck. A cheek may be warmer than a forehead, and a shadow may reflect colour from clothing or foliage. These differences are not automatically defects. The goal is a plausible relationship within the person's appearance, not a perfectly uniform surface. Avoid using a single numerical skin-tone formula for everyone.
Identify the source of the cast
If the whole photograph looks too warm or too cool, adjust globally first. If only one side of the face is affected by a nearby coloured wall, a local correction may be more suitable. Keep the mask's transition broad enough to follow the light naturally. A sharply bounded neutral patch can look more artificial than the original cast.
Watch exposure alongside colour. Skin that is too bright may lose hue and texture; darkening it can make saturation appear stronger. Establish a reasonable brightness before making large colour changes. Check important highlights for clipping, but allow small natural reflections on skin to remain brighter than surrounding areas.
Use hue or saturation controls sparingly and observe what else changes. A red adjustment may alter lips, cheeks and clothing simultaneously. If only one region needs correction, isolate it appropriately. Reducing all warmth can create grey skin, while excessive vibrance or saturation can exaggerate small variations into blotches. Keep a before-and-after view available throughout the process.
A green reflection beside a window
A person near a window overlooking foliage may have a green reflection on one cheek while the other remains relatively neutral. A global magenta shift can correct that cheek but contaminate the rest of the image. Use a gentle local colour correction and compare the two sides without making them identical; their different illumination should still be visible.
If the skin is strongly clipped in one channel, colour correction may not restore a convincing surface. Reduce the adjustment and consider another frame. A believable transition matters more than making one sample point numerically neutral. Keep the person's individual complexion as the reference, and ask for their preference when the photograph is a portrait intended for their own use.
Judge texture and colour separately
Noise reduction or skin smoothing can alter perceived colour by removing fine variation. Do not use heavy smoothing as a substitute for correcting an actual cast. Preserve the person's skin texture unless a specific retouching brief calls for another treatment. Even then, keep the change intentional and avoid making claims about an unretouched result if significant alterations were made.
Step away from the image briefly and return at normal viewing size. Adaptation can make a gradually increasing colour cast seem neutral. View the photograph beside another image from the same lighting situation if one is available. The comparison should help identify inconsistency, not force two different people to share the same skin colour.
Export with an appropriate embedded colour profile and check the result in a colour-managed viewer where possible. Different screens and viewing conditions can still vary, so avoid chasing every uncalibrated display with another global edit. Keep a reversible master. A believable result preserves the individual, the surrounding light and enough natural variation to avoid a painted appearance.