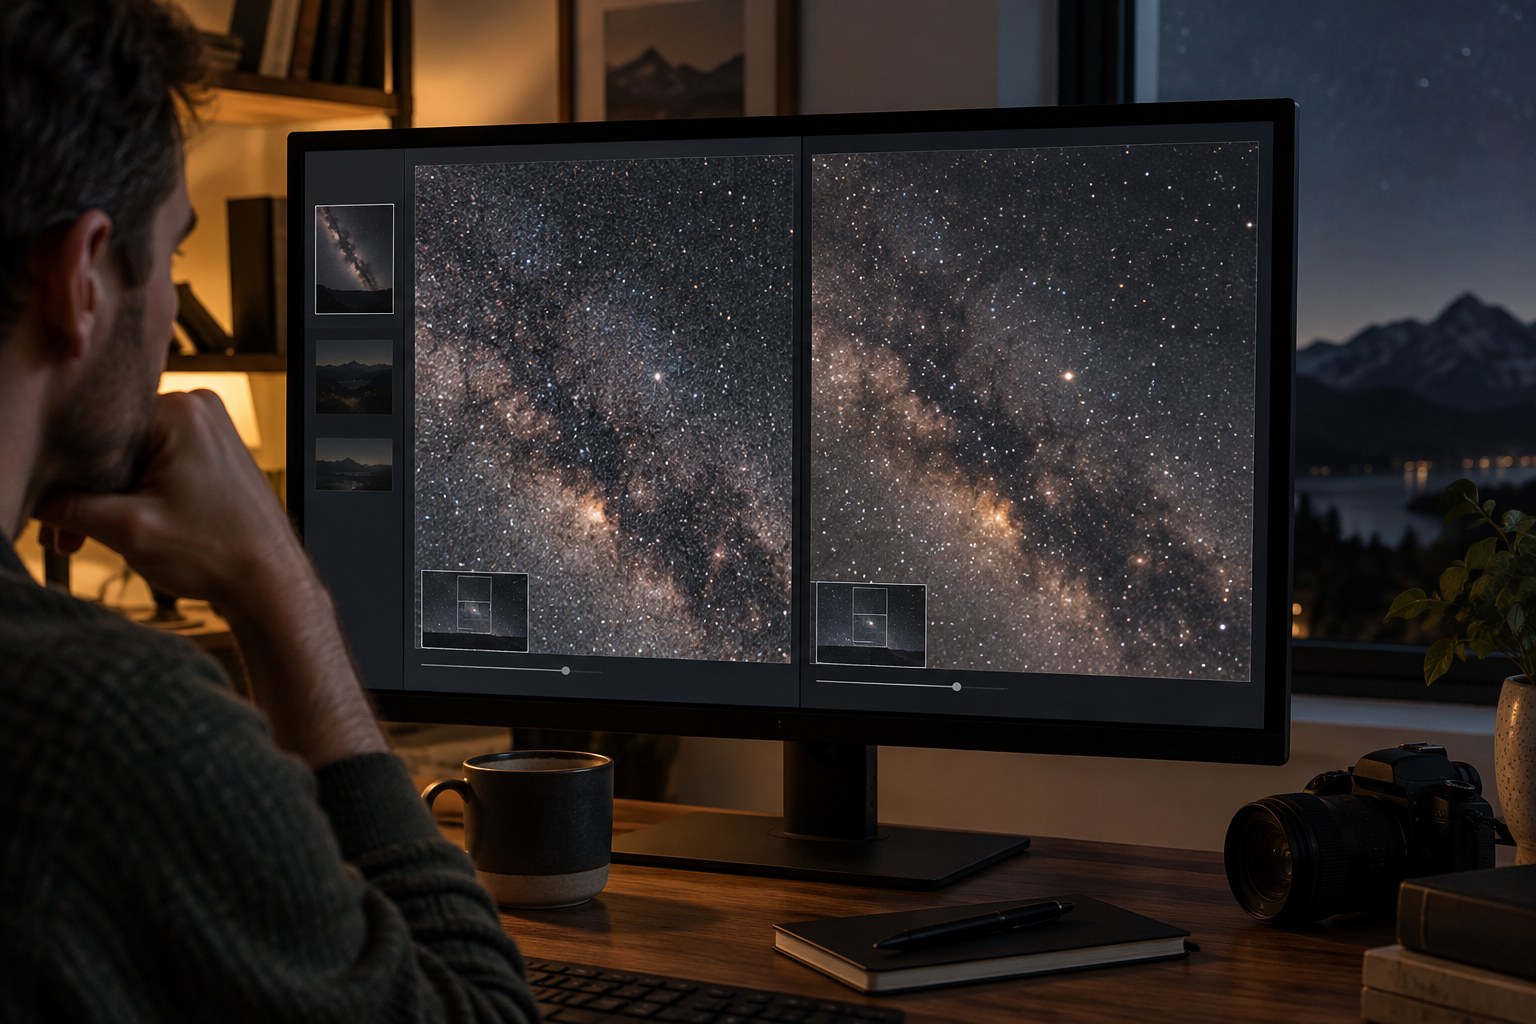
Open the original file and establish exposure and white balance before deciding how much noise treatment is needed. Lifting shadows can reveal noise that was previously hidden, so an early judgment may change after tonal editing. Inspect at full resolution to understand the pattern, but do not make the final decision only while viewing individual pixels at extreme magnification.
Distinguish colour speckles from brightness grain. Many editors provide separate controls because the two can be treated differently. Removing coloured flecks may improve an image without requiring heavy smoothing of fine texture. Start with modest changes and inspect areas containing real detail, such as hair, grass, fabric or distant windows.
Compare a detail area and a smooth area
A smooth wall makes noise easy to see, but it cannot tell you how much useful texture has been lost. Keep a detailed region visible as well. If the wall becomes clean while eyelashes merge or foliage turns into a soft mass, reduce the treatment. A little visible grain can be a better outcome than an unnaturally polished surface.
Judge the intended output. Downsampling for a small web image can make fine noise less noticeable, while a large print may reveal it differently according to viewing distance and paper. Create a test export at the actual dimensions rather than guessing from the editor's fit-to-screen display. Compare versions at the same size and brightness.
If your software offers AI-based denoising, examine the result for altered detail, especially in small text, repeated patterns and fine facial features. A cleaner appearance is not proof that every recovered-looking detail is accurate. Preserve the original and avoid describing generated or inferred texture as a measured restoration of information that was definitely present.
One file, two destinations
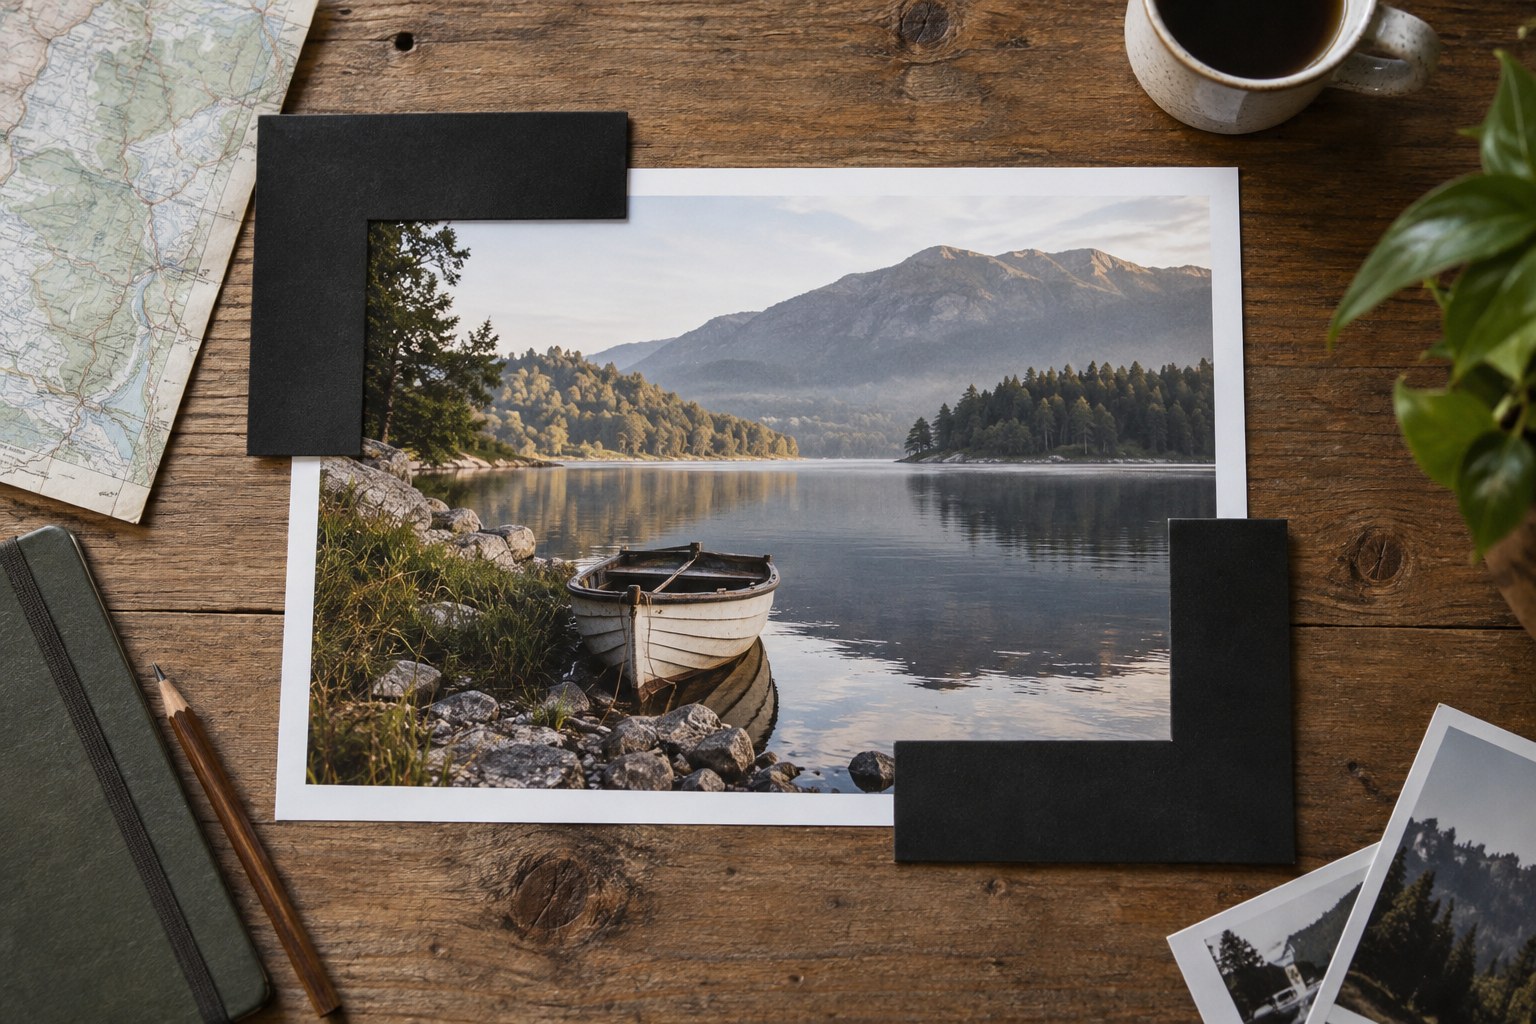
Prepare a small gallery export and a larger print candidate from the same noisy source. Apply separate output treatment and compare each at its intended scale. The gallery file may need very little smoothing after reduction, while the print candidate may benefit from a different balance. There is no reason to damage the full-size master to solve a problem that disappears in the smaller output.
For a portrait, include both skin and hair in the comparison. For a landscape, include foliage and a smooth sky. A treatment that excels on the easiest region can fail on the defining subject. Keep the version that preserves those meaningful details, even if an unimportant smooth area retains a small amount of visible grain.
Balance sharpening afterward
Sharpening can emphasise remaining noise, so evaluate the combination rather than maximising each control separately. Restrict sharpening to useful edges where the software permits and check smooth shadows for newly exaggerated grain. Output sharpening may be applied separately after resizing, but it should not compensate for detail removed by excessive noise reduction.
Local treatment can help when only a dark background is noisy and the main subject already looks good. Keep transitions unobtrusive and watch for a smooth halo around the subject. If the entire photograph needs severe intervention, consider whether a different frame or a smaller output size would communicate the image more convincingly.
Keep two candidate versions and compare them after a short break. Choose the one that preserves the subject's character and readable detail at its destination size. The objective is not a perfectly clean file under unlimited magnification. It is a photograph whose noise does not distract more than the processing used to remove it.