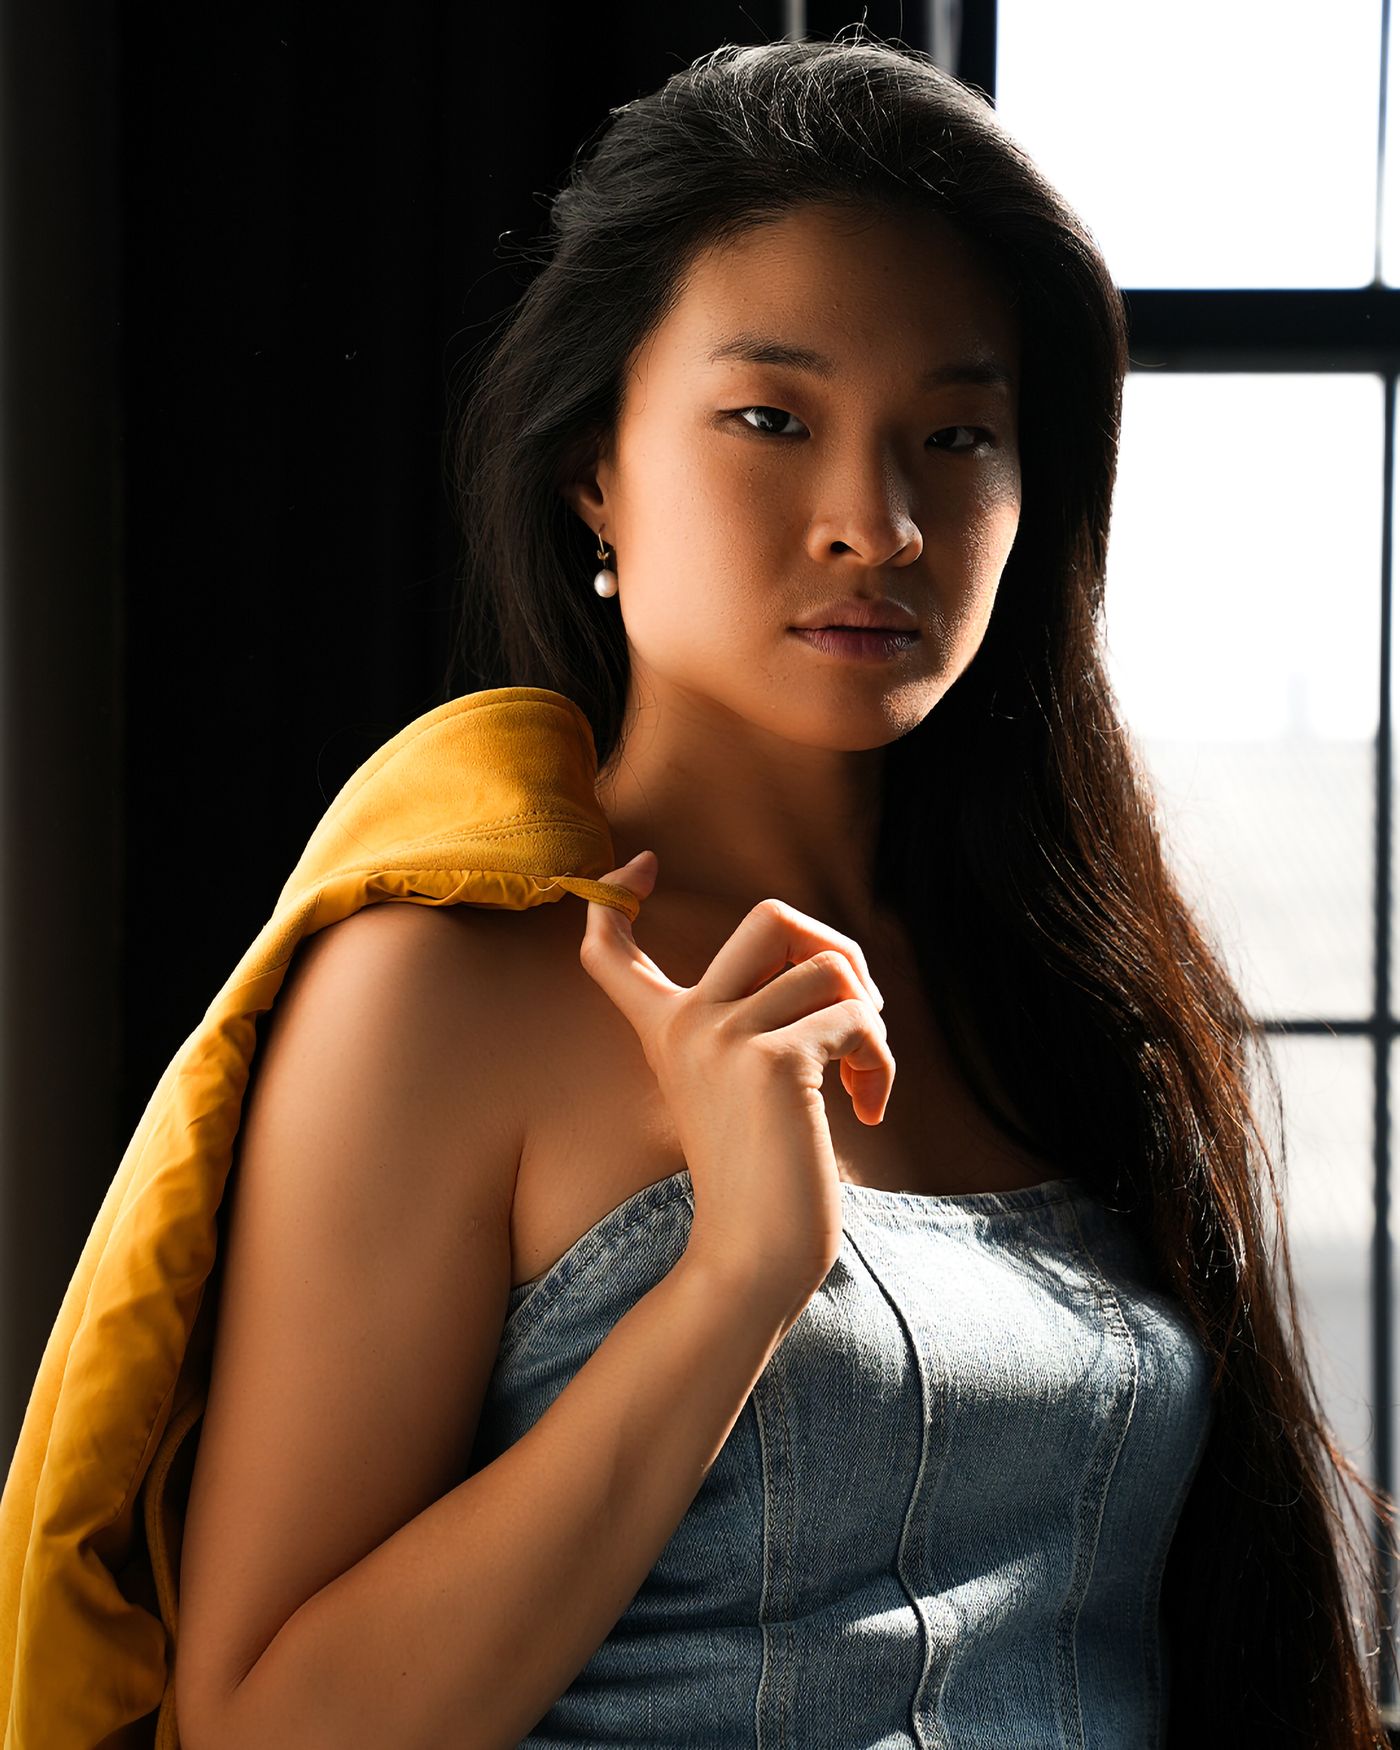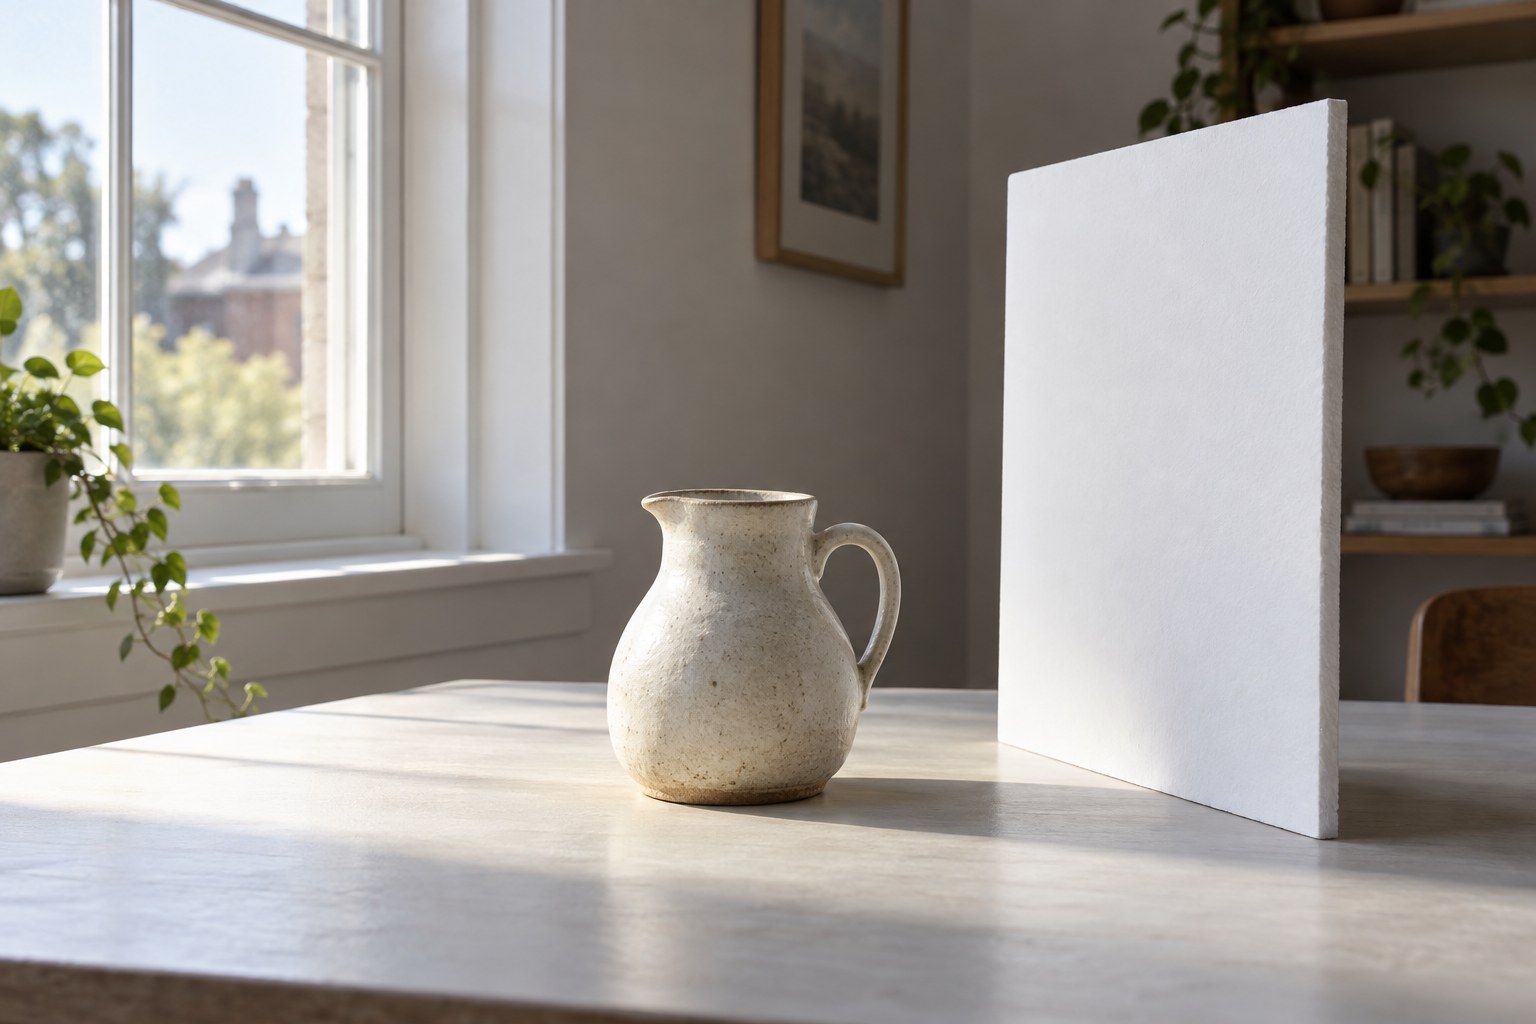
Reflected window light is useful when the side of a subject facing away from the glass becomes too dark. A white board does not create a second independent source; it redirects some of the existing light. Its effect depends on where it can see the window, where it can send that light and how close it is to the subject.
Begin with a small still life or a seated person and make an unfilled reference frame. Put a matte white board on the shadow side, outside the composition, and angle it until the shadow lifts. Moving it closer usually strengthens the effect, but an awkward angle can send much of the light elsewhere. Watch the subject rather than the brightness of the board itself.
Keep exposure fixed while comparing positions. If the camera changes exposure between frames, you may mistake a general brightness change for the reflector's effect. Examine a shaded cheek, the underside of a handle or another specific area. The lit side should remain recognisably stronger if you want to preserve the window's direction.
Choose how much shadow to keep
A very close reflector can flatten the subject. Pull it back until the shadow regains enough depth to describe the shape. For a glossy object, the board may appear as a pale reflected rectangle rather than simply filling a shadow. Change its angle or size to make that reflection follow the form. Check glass, polished metal and shiny skin separately.
A silver surface produces a different effect from matte white and can create a more conspicuous bright reflection. It is not automatically the stronger choice you need. A plain white foam board is often easier to position for a gentle change, provided it is stable and does not lean against the subject or obstruct the person.
Look for colour introduced by the room. A coloured wall behind the board, a warm wooden tabletop or a bright garment can all contribute reflected light. If the shadow changes colour as well as brightness, identify the surface responsible. Moving the arrangement a little may produce a cleaner result than trying to correct different colours across the subject later.
Save one frame without the board and one with the final position. Compare them at normal viewing size after the session. The useful amount of fill is the amount that makes the subject easier to read while retaining the intended mood, not the amount that makes both sides equally bright.